


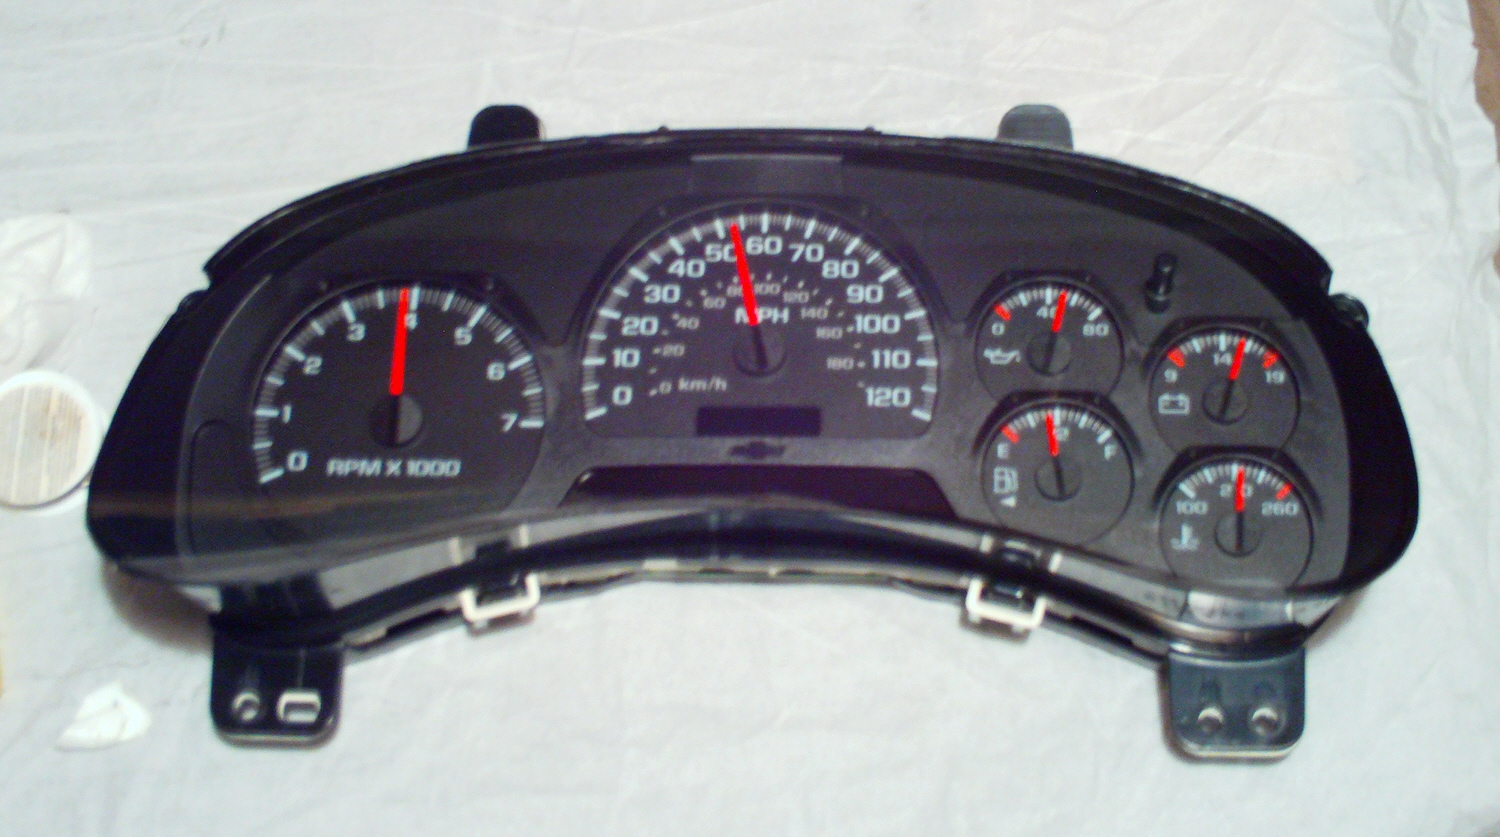
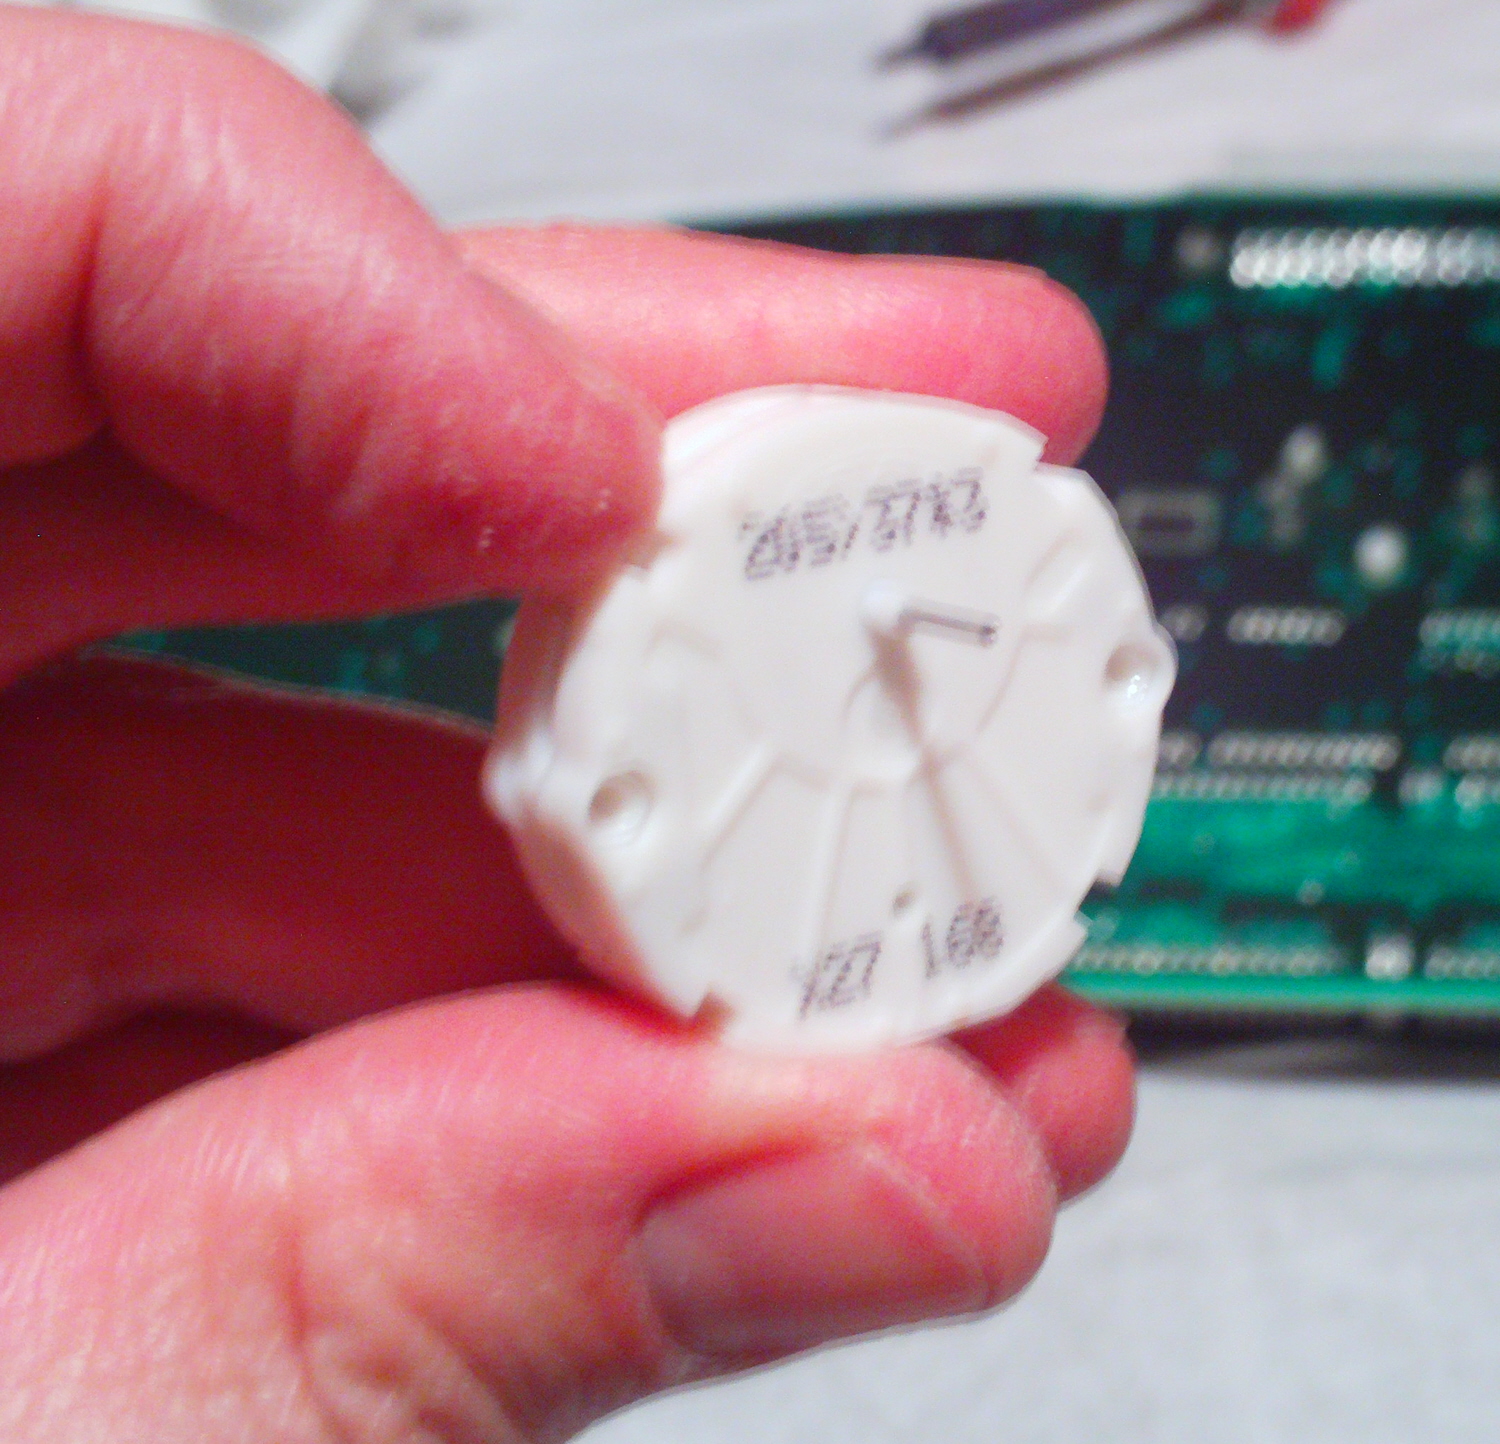
Mark the needles before removing them
2005 Chevrolet Trailblazer
Instrument Cluster / Stepper Motor Replacement


On modern vehicles the instrument dials are operated by the use of stepper motors. These motors can arrive at a determined point depending on the power signal sent to them. One of our dials were beginning to act very strangely (the oil pressure dial was fully deflected out of bounds, and the speedometer needle would rest at 45 MPH and sometimes wouldn’t move at all). Fortunately all of the motors (6 total for our 2005 Trail Blazer) are exactly the same and more fortunate is that replacement motors can easily be purchased on eBay for about $35.00 (even came with LED bulbs for the dash if needed).
First step to replace the motors is to remove the instrument cluster from the vehicle. This will take a little bit of time if it’s your first time at doing so. Just got slow and careful.
Once the cluster is free from the dash you can begin to take it apart. Often it is only held together with slide in tabs and is relatively easy enough to disassemble. An important step is to take some tape and use it to mark where the needles rest at their left most state. This allows you to accurately set the needles back in place and keep things calibrated.
Now, you need to get down to the back of the printed circuit board in order to use a soldering iron to remove the old motors. Installation of the new motors is relatively easy as the backs of the motors are fitted with keyed tab protrusions that only allow you to install it one way (dummy proof). Resolder the 4 terminal posts to the circuit board and refit the faceplate back in. Next comes time to install the needles and this is where you will use your previously drawn marks. Start with the needles at the 12 o’clock position when you place it on the stem. Then turn it left until it is on the mark.
Reassemble the entire cluster back together again and reinstall into the vehicle. You should be all set.


Reassembly
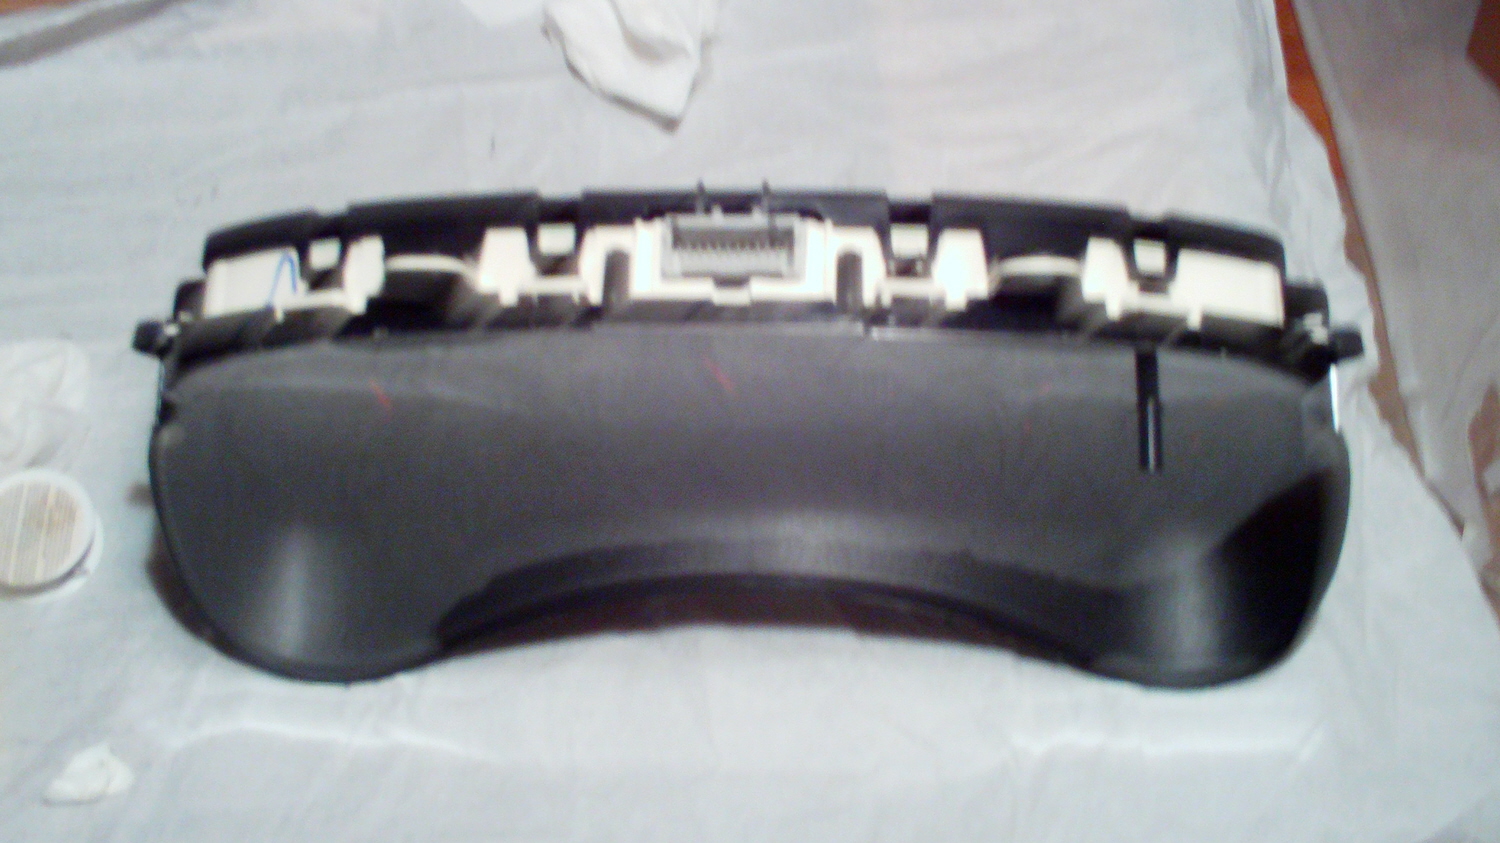
Disassemble module
(notice side clips)
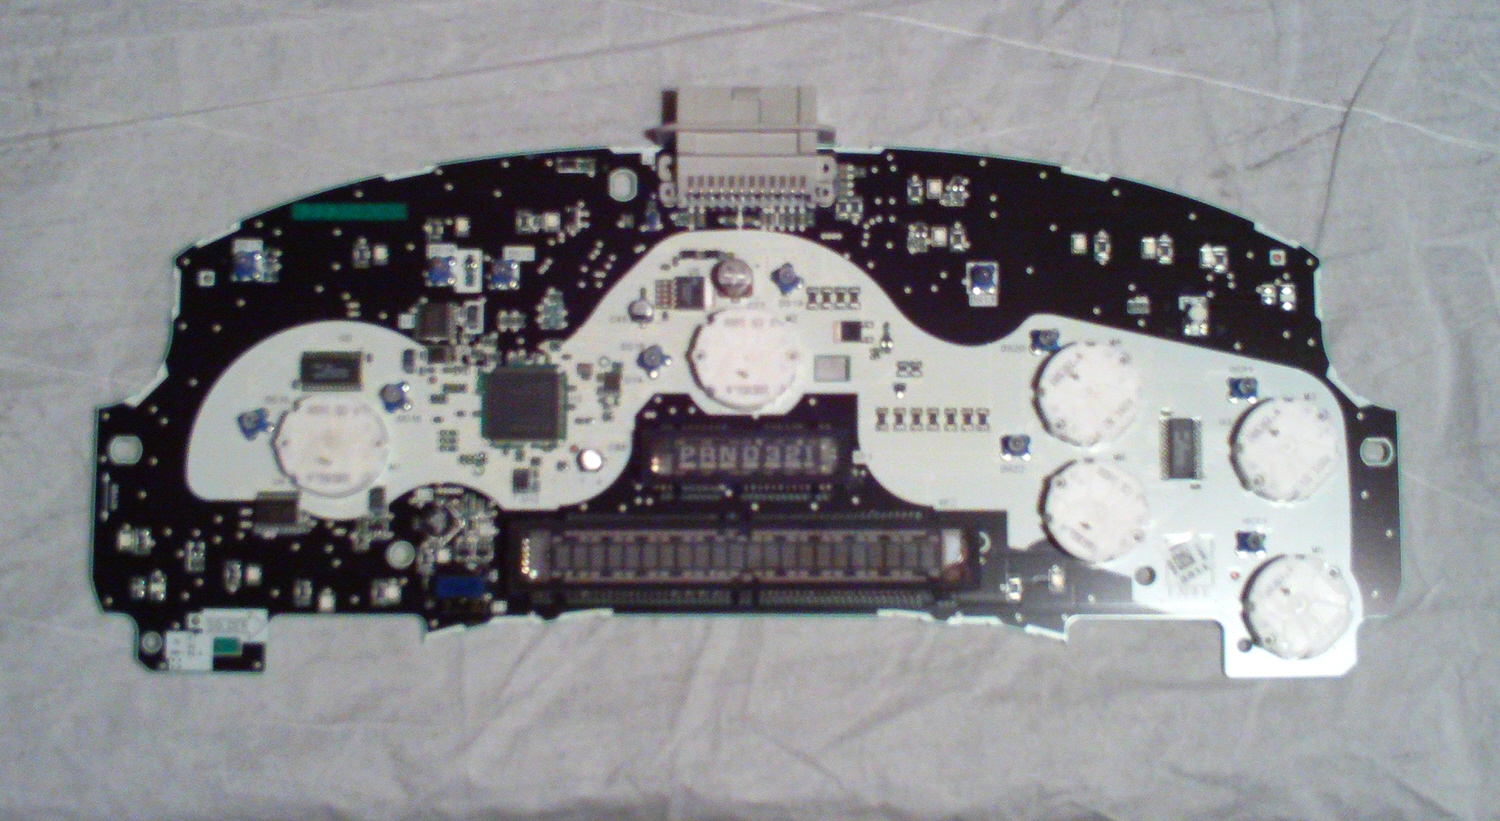
Front of circuitboard
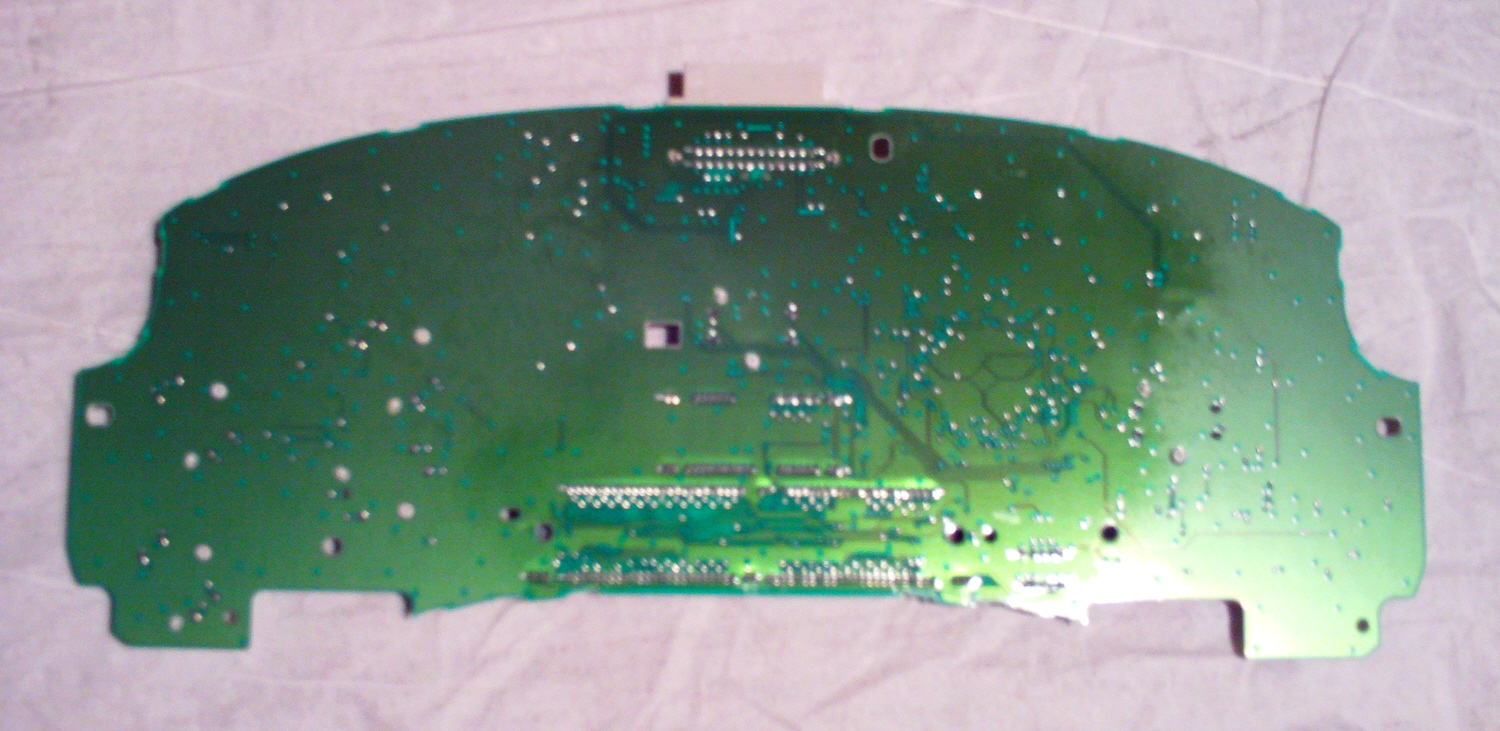
Back of circuitboard
Stepper motor - back
Old stepper motor disassembled
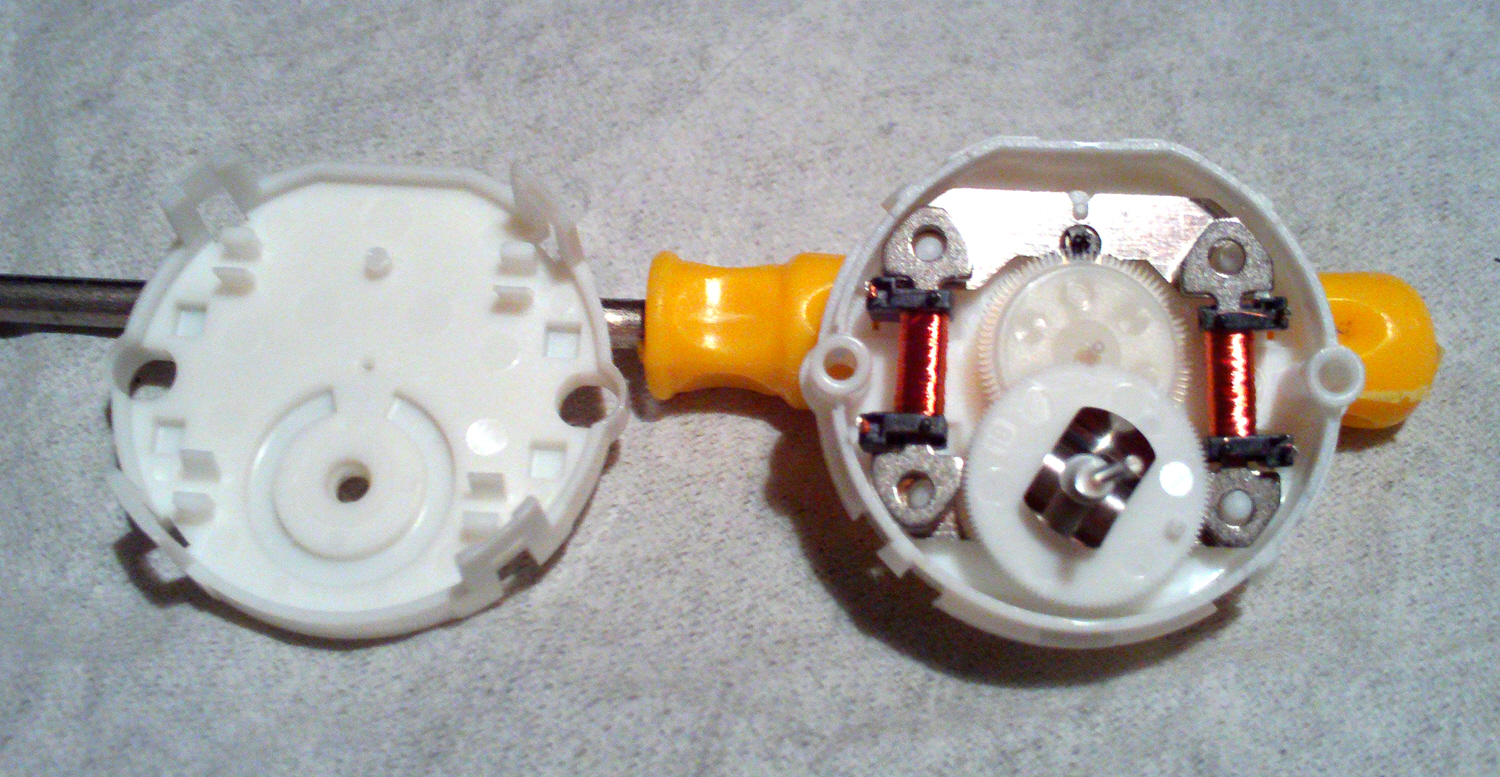

Just for curiosity’s sake
Stepper motor - front