


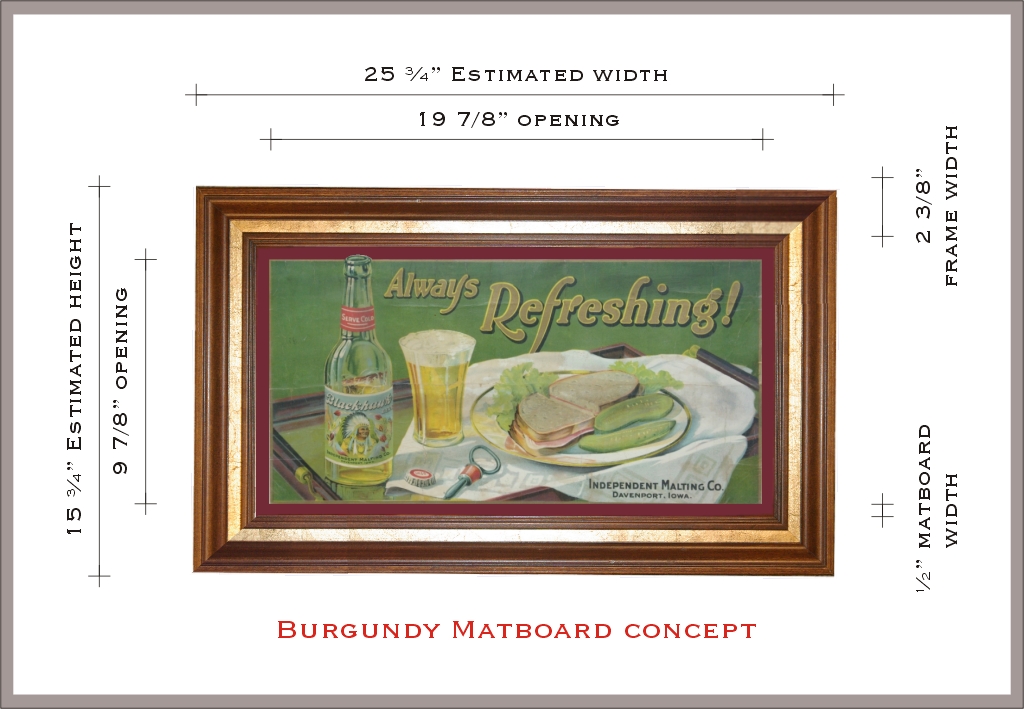
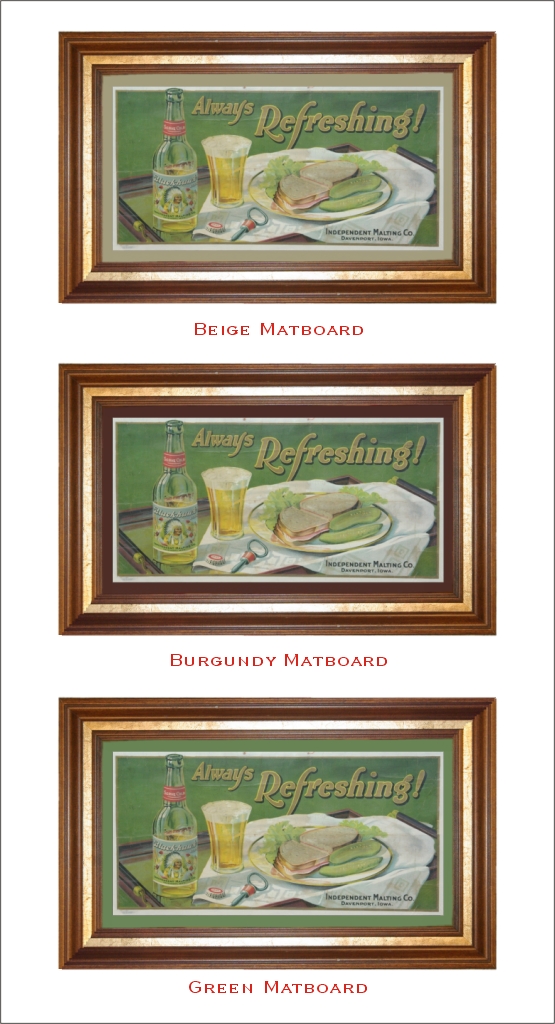
In preparation of framing the print it was helpful to use the computer to drawn up different matboard colors with the frame and determine which might be the best.
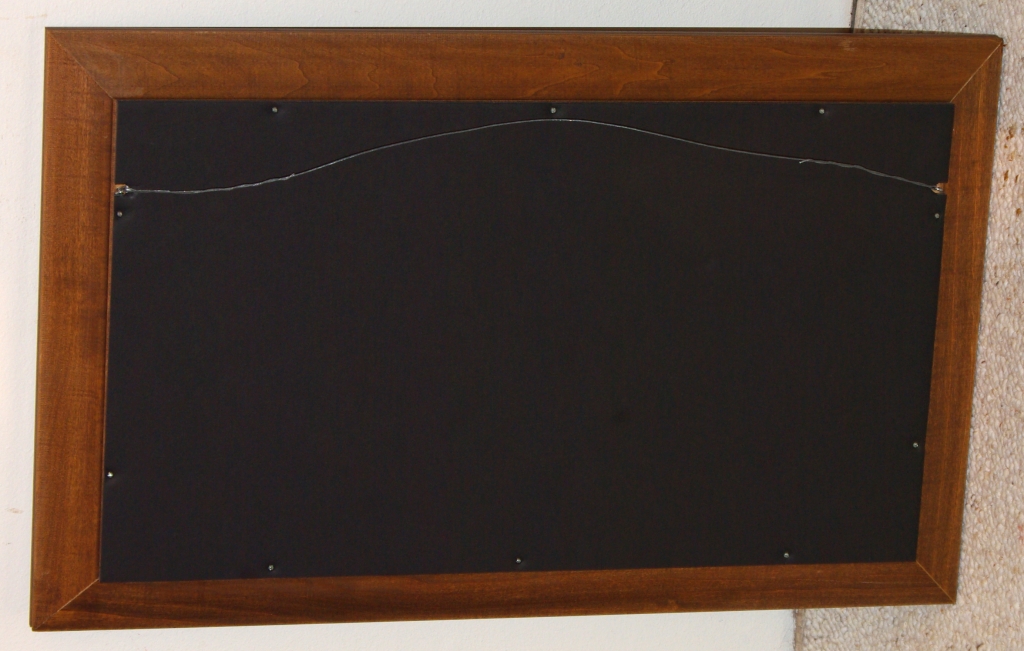
An important issue to note is that the proper matboard to use is an archival product that is 100% cotton. The specific product I purchased is called RagMat and I was able to find some at the local art supply store.The framing specialist there was also very helpful with their knowledge. The glass panel is non-glare. The wood frame is one that we had on hand and was carefully cut to fit. The backing is black foamcore with screws to set it in place.
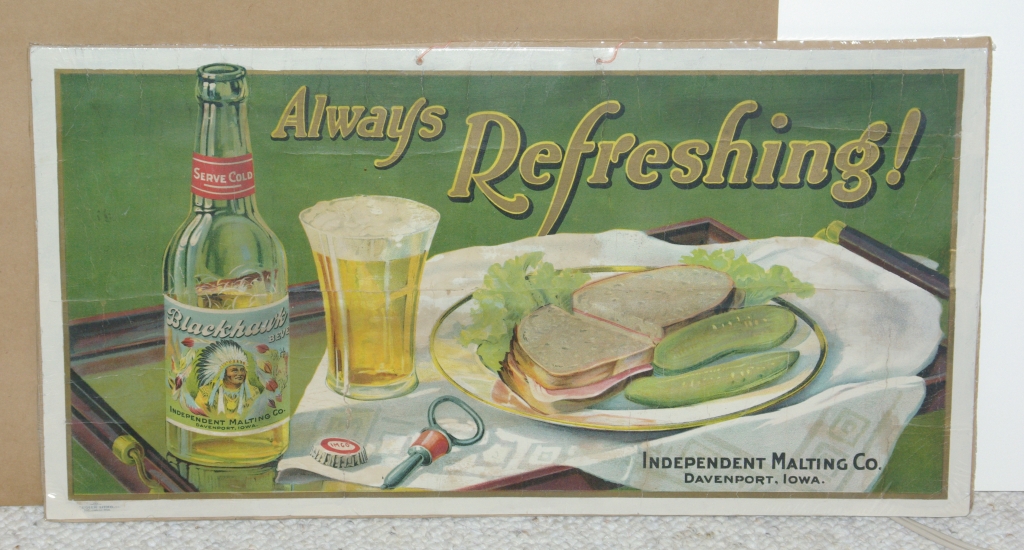
The print before
framing
Computer color concepts
Final computer generated concept
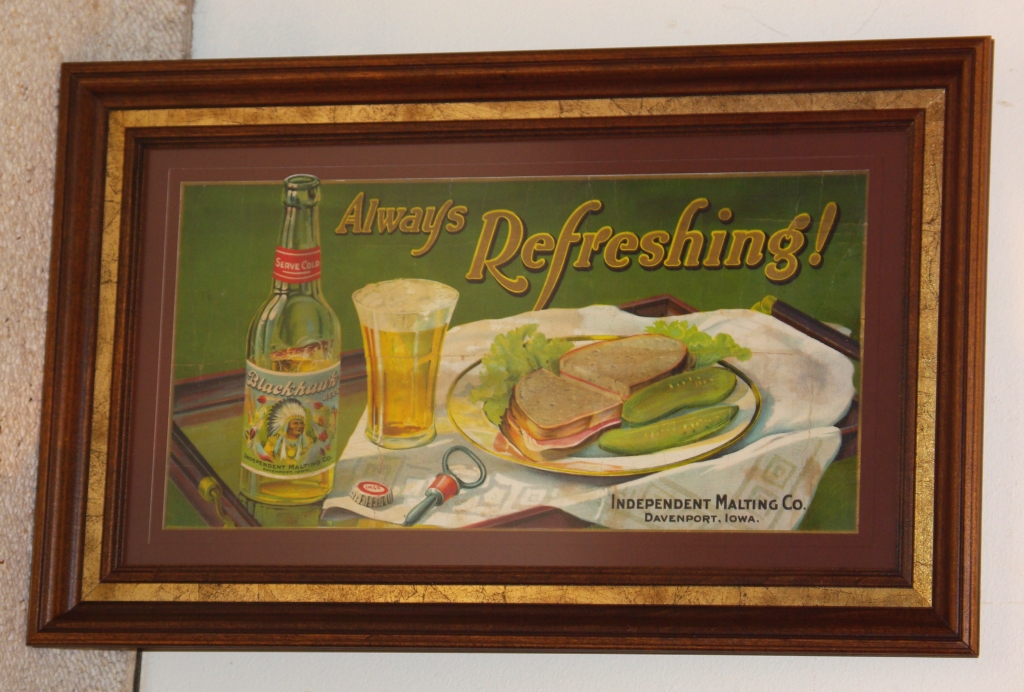
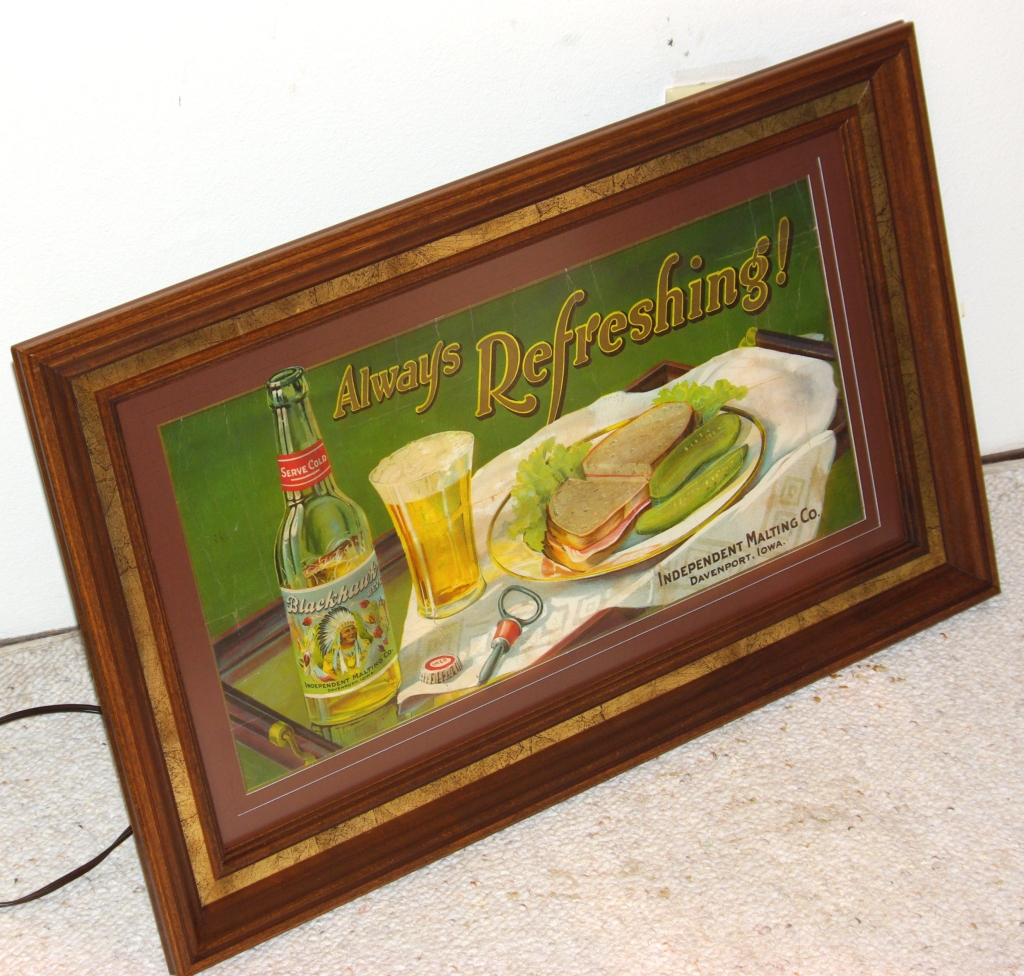

Antique Print Framing